Business Users - How do I customise QR codes and Paylinks using the BOPP app?
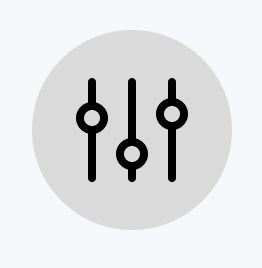
ep 1. Customise your request by clicking the icon in the bottom left  .
.
This will enable you to add a reference, decide when the Paylink expires and decide who sets the payment amount.
Step 2. Once you have defined these settings you can apply them to this request only or click 'Save as default settings' to apply them to future pay requests.
Step 3. Edit the reference by clicking on Payment Reference, you have 3 options
- Set by me - this is where you type in the reference you wish to appear to the payer
- Set by payer - this is where the payer and type in the reference while they are making the payment
- Autonumber - this is where you define the prefix for all reference and BOPP increments the number after each request (this should be saved as a default setting if you wish to use)
Step 4. Setting the 'Valid Until' setting
In this section you have a number of options
- Single use - This is where the request generated can only be paid once and once the payment is complete the QR Code or paylink becomes invalid
- Multi-use - This means the QR Code or paylink generated can be used up until your account maximum is reached
- After X-payments - This is where you define the set number of times a payment can be made, this is a useful option for ticket sales
The option "On a certain-date" can be used in conjunction with of the 3 settings above and means after this date the QR Code or paylink will become invalid.
Step 5. Decide who sets the amount
- Fixed - This is where you choose to set the payment amount or let the payer decide.
- Set by Payer - This allows the payer to choose, this option is useful if you're collecting charity donations or voluntary contributions.
- Suggested - This means you are setting a default amount but the payer can either increase or decrease this amount at the point of payment.
- Min Amount - This means you are setting a minimum amount that can be paid but the payer can choose to increase the amount.
Step 6. Request Email
This section allows you to request a payers email and also to give them the option of opting in for your marketing consent.
Step 7. Notes
Within the Notes section you can either choose to display a message to your payers by selecting the option "Set by me" or you can simply enabled the notes field so that the payer can supply you with information by selecting "Set by payer".
Step 8. Displaying a custom Thank you message at the end of the payment journey
In the Thank You Note section you can type a brief message which will be displayed to the payer at the end of the BOPP payment journey
Step 9. Creating the pay request
Once you have added the amount and updated the settings, click on Request.
Step 10. Sharing the QR code
Once you click Request this will create a QR code which can be scanned by a mobile phone camera. You can Click 'Save QR code' and it will open your phone sharing function and you can share or save it.
Step 11. Creating a Paylink
To create and send a secure Paylink, click 'Share Paylink' button. This will open the sharing function on your phone.
Step 12. Send a Paylink
Select how you want to share the link i.e. email, WhatsApp or SMS. This will then open the Paylink and accompanying message in the channel you have selected and just add the details of the person or people you want to send it to.
Step 13. On the Activity Screen, which is accessible from the Menu button on the top right of the home screen, you can see the list of payments sent and received.
How do I send someone a paylink? / How do payments with paylinks work?